How to Create Image Captions with Jekyll
Markdown is great for writing because it’s simple and fast, but sometimes that simplicity comes with limitations. It can be difficult to create anything more complex than basic elements like headings and lists. Recently on this blog I wanted to include an image in a post with a caption, and there wasn’t an elegant Markdown way to do so. As an alternative, Jekyll’s includes feature is a great way to create easy to manage image captions. Here’s how it works.
1. The HTML
First, set up an HTML partial in the Jekyll _includes folder named image.html. Mine looks like this:
<img src="/img/{{ include.file }}" alt="{{ include.description }}">
<span class="caption">{{ include.description }}</span>
2. Including the file
Notice the {{ include.description }} tag in the HTML? We can pass variables into the include just like attaching variables to posts and pages in Jekyll.
Add the include file to your post’s Markdown file and add an image and caption using the include syntax below and fill in the file and description attributes:
---
layout: post
title: Image Caption Example
---

{% include image.html file="image-name.jpg" description="This is an image." %}
See it in action
Here’s the final result!
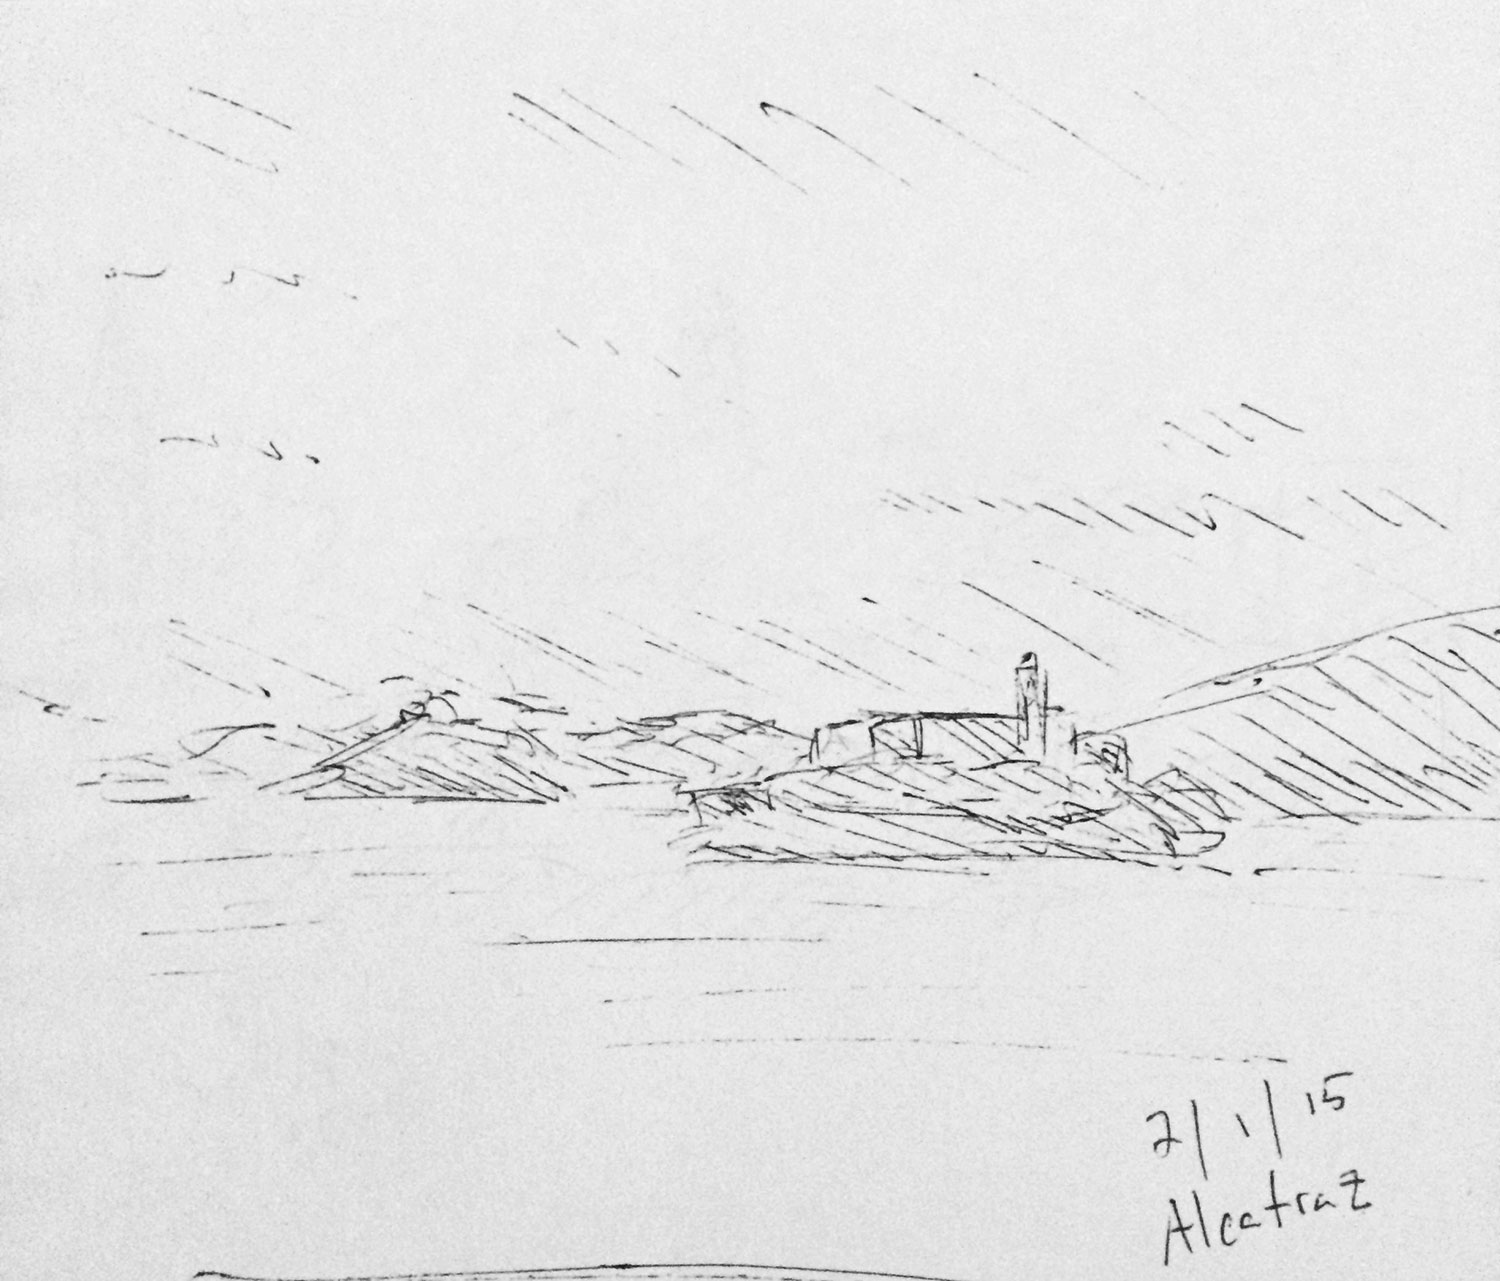 Sketch of Alcatraz and Angel Island. San Francisco, CA.
This solution avoids writing any HTML directly in the Markdown file, and avoids unsemantic styling of heading elements to create captions.
Good luck and have fun. Let’s talk on Twitter if you have any questions.
Published

Kevin McGillivray is a web developer, painter, and writer in Wisconsin. He writes about creativity, online and offline neighborhoods, and vegetables. He paints and dives.